※この記事は【Flutter】【Android】Splash Screen(起動画面)を直感的に作る方法 - Qiitaの記事をエクスポートしたものです。内容が古くなっている可能性があります。
はじめに
FlutterでiOS / AndroidのSplash Screenを作ろうとしたところ、Android側でかなり手こずったので(僕がAndroidアプリ開発未経験なのが大きい)ここに記します。僕と同じ状況の方の役に立てたら幸いです。Androidでも画面中央に静止画のロゴを一つ表示するだけの場合や、両OSでデザインが全く同じ場合はとても簡単にSplash Screenを作ることができます。flutter_native_splashという便利なPluginがありますし、それを使わなくてもXcodeとAndroid Studioの初期設定をいじるだけでできます。
ですが、僕の場合は両OSでデザインが違う && 画像を複数表示しなければならなかったので上記の方法では解決できませんでした。また、この問題に関する技術記事がほとんど見当たらず実装は難航しました。
iOSでSplash Screen(Launch Screen)を作る方法やAndroidで一つのロゴを中央に配置する方法は、この記事では割愛しますので以下の記事を参考にして下さい。
- 【Flutterでの実装例つき】クロスプラットフォーム環境でアプリ起動時のSplash画面(Launch画面)を作成する方法
- [Android]Splash Screen(Launcher Screen)の一番簡単な作り方
完成形
ドラゴンボール好きなんで画像拾ってきました。このSplash Screenに深い意味はないです。


実装手順
(準備) Flutterを使用している場合はAndroidのワークスペースを開く 1. Layout作成(splash.xml) 2. SplashActivity.ktを作成 3. style.xmlにsplash.xmlを登録 4. AndroidManifest.xmlでSplashActivity.ktを登録
(準備) Flutterを使用している場合はAndroidのワークスペースを開く
FlutterのワークスペースだとIDEの支援を受けられないので必ずAndroidのワークスペースで始めましょう。デザインを確認しながらScreenを作ることができます。File -> Open -> (Finderから当プロジェクトのandroidフォルダを選択) -> Open
1. Layout作成
例えば、画面中央に一つのロゴを表示するだけだったらapp/res/drawable/launch_background.xmlを編集するだけでできます。ですが、今回は使用しないのでdrawableディレクトリごと削除しておきましょう。
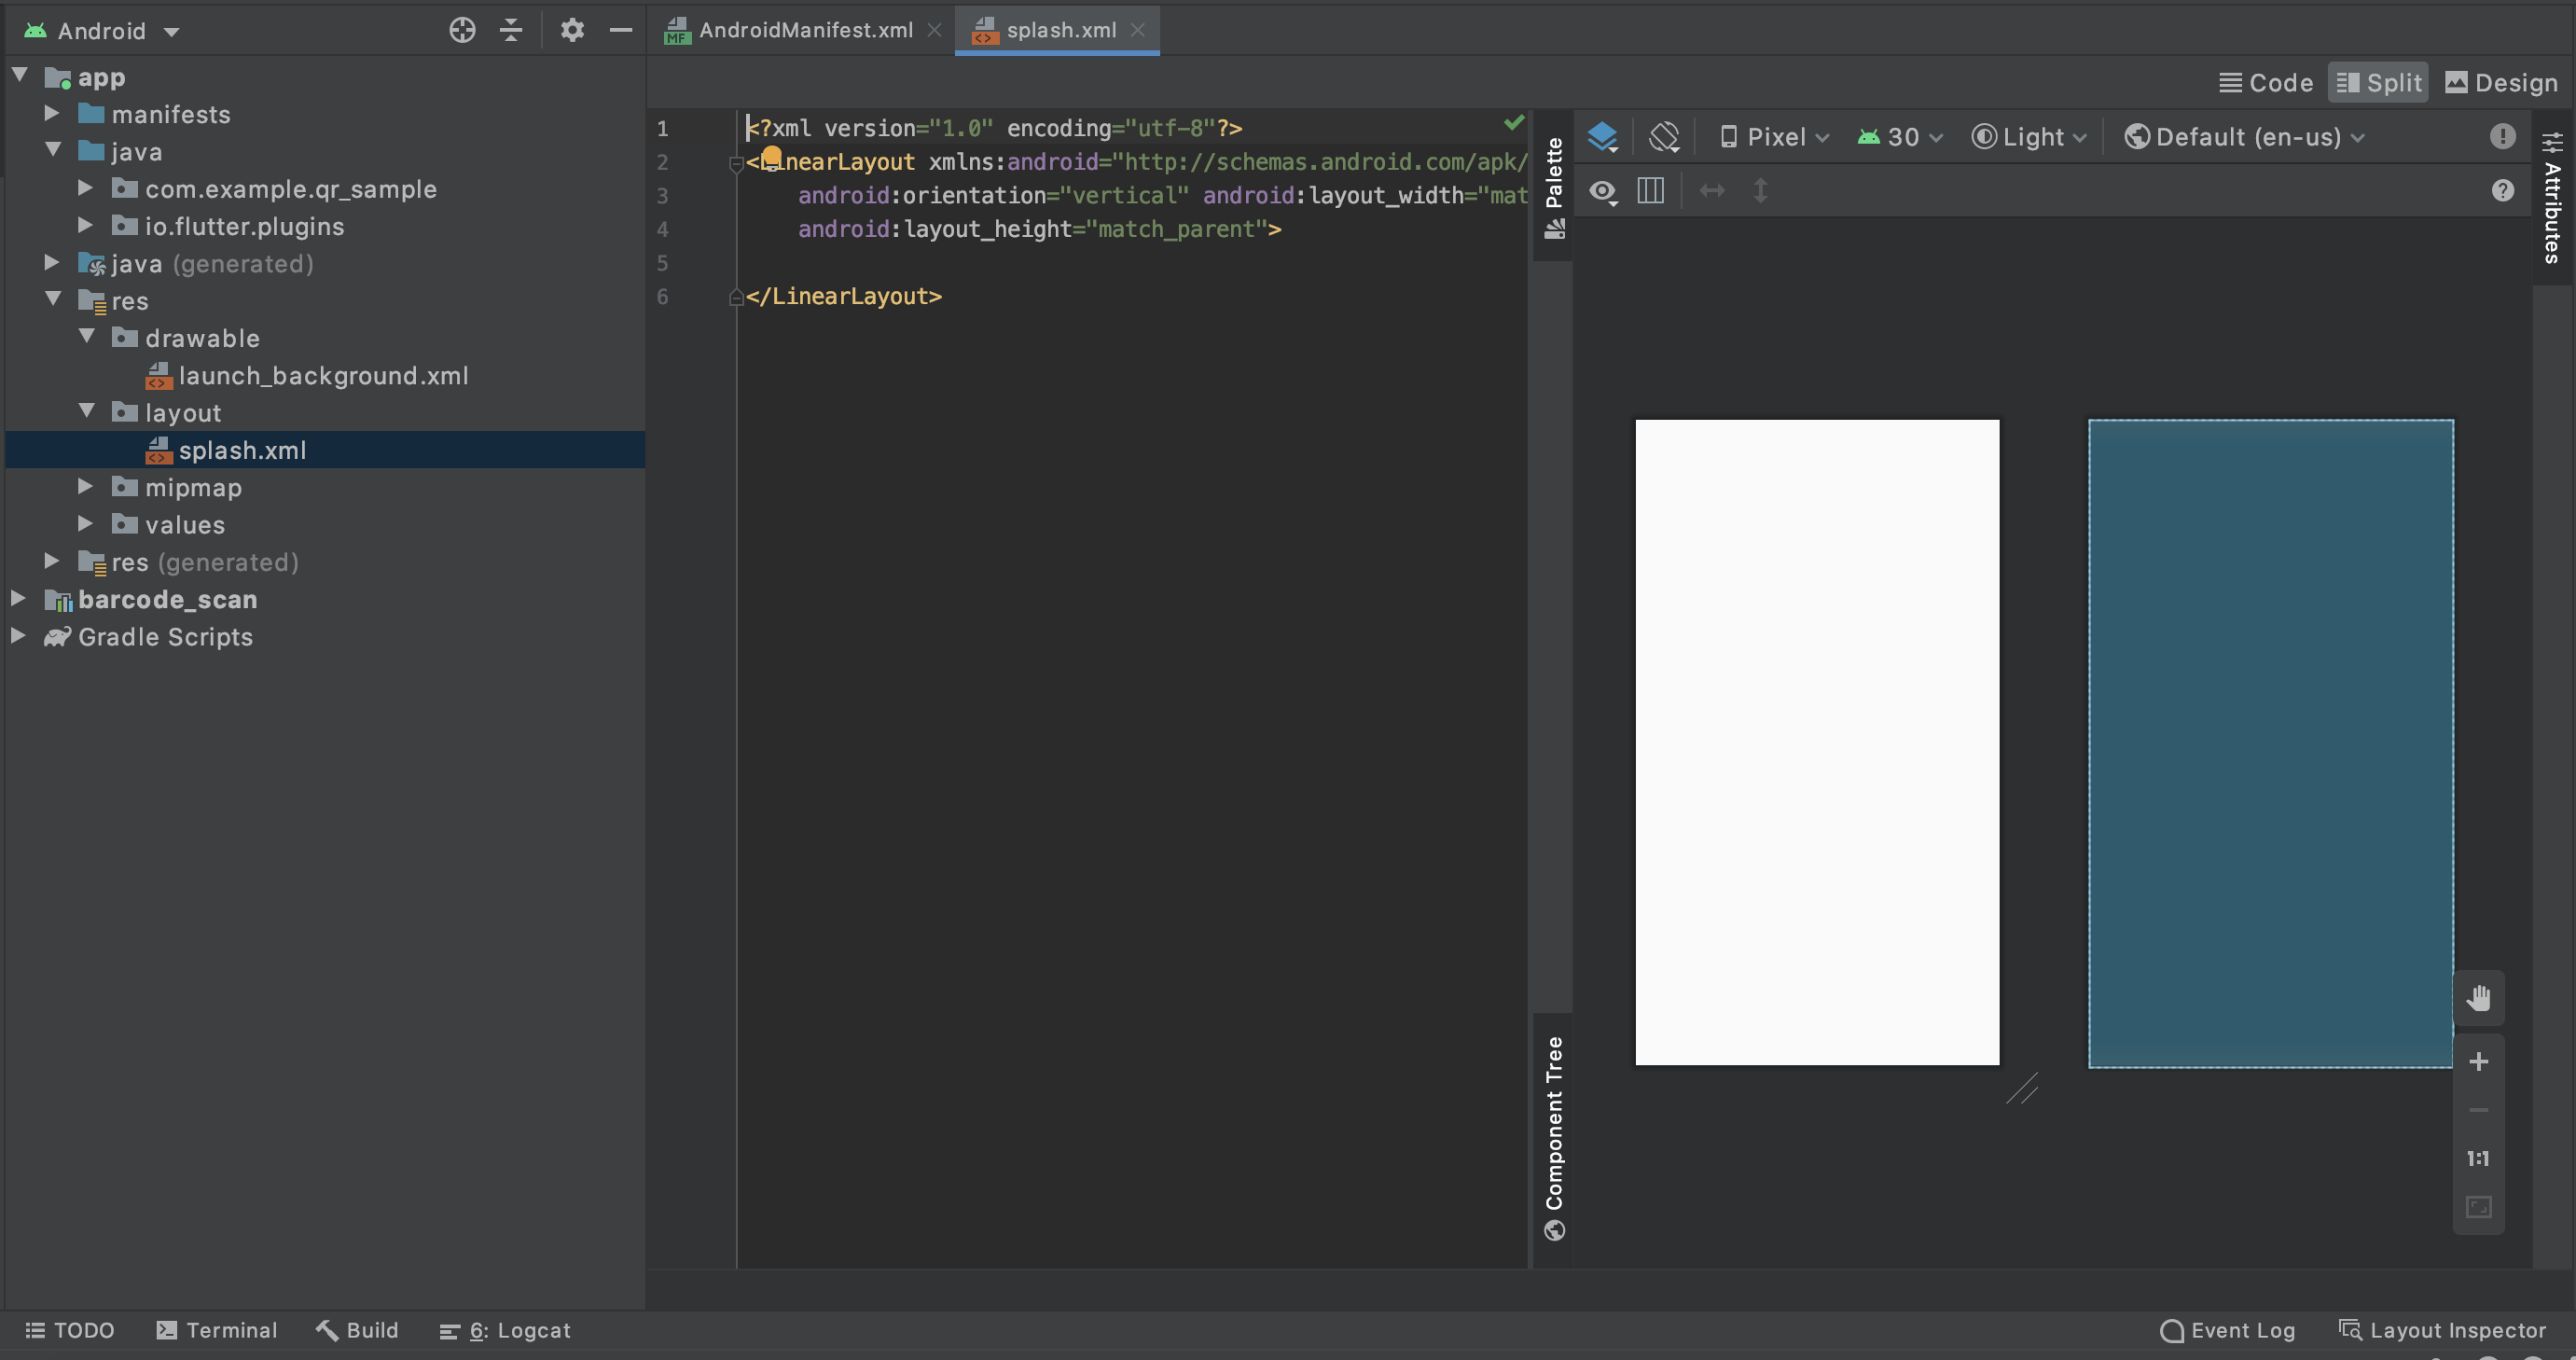
続いて、app/resの配下にlayout/splash.xmlというAndroid Resource Fileを作成しましょう。(作成時、ファイル名と種類を聞かれます。ファイル名: splash.xml、種類: Layoutを選択しましょう)layoutディレクトリの配下に作成することで<RelativeLayout>や<LinarLayout>を使用できるようになります。以下のような画面になっているでしょうか?
右の画面を見ながらxmlファイルを編集していく感じになります。Layoutに関してはこの記事が大変参考になりました。余談ですが、<RelativeLayout>が相対的にlayoutを組めるので使いやすいかなあと思いました。
完成したDesignとCodeがこちら(画像ファイルは事前にapp/res/mipmapへ追加しておきました)
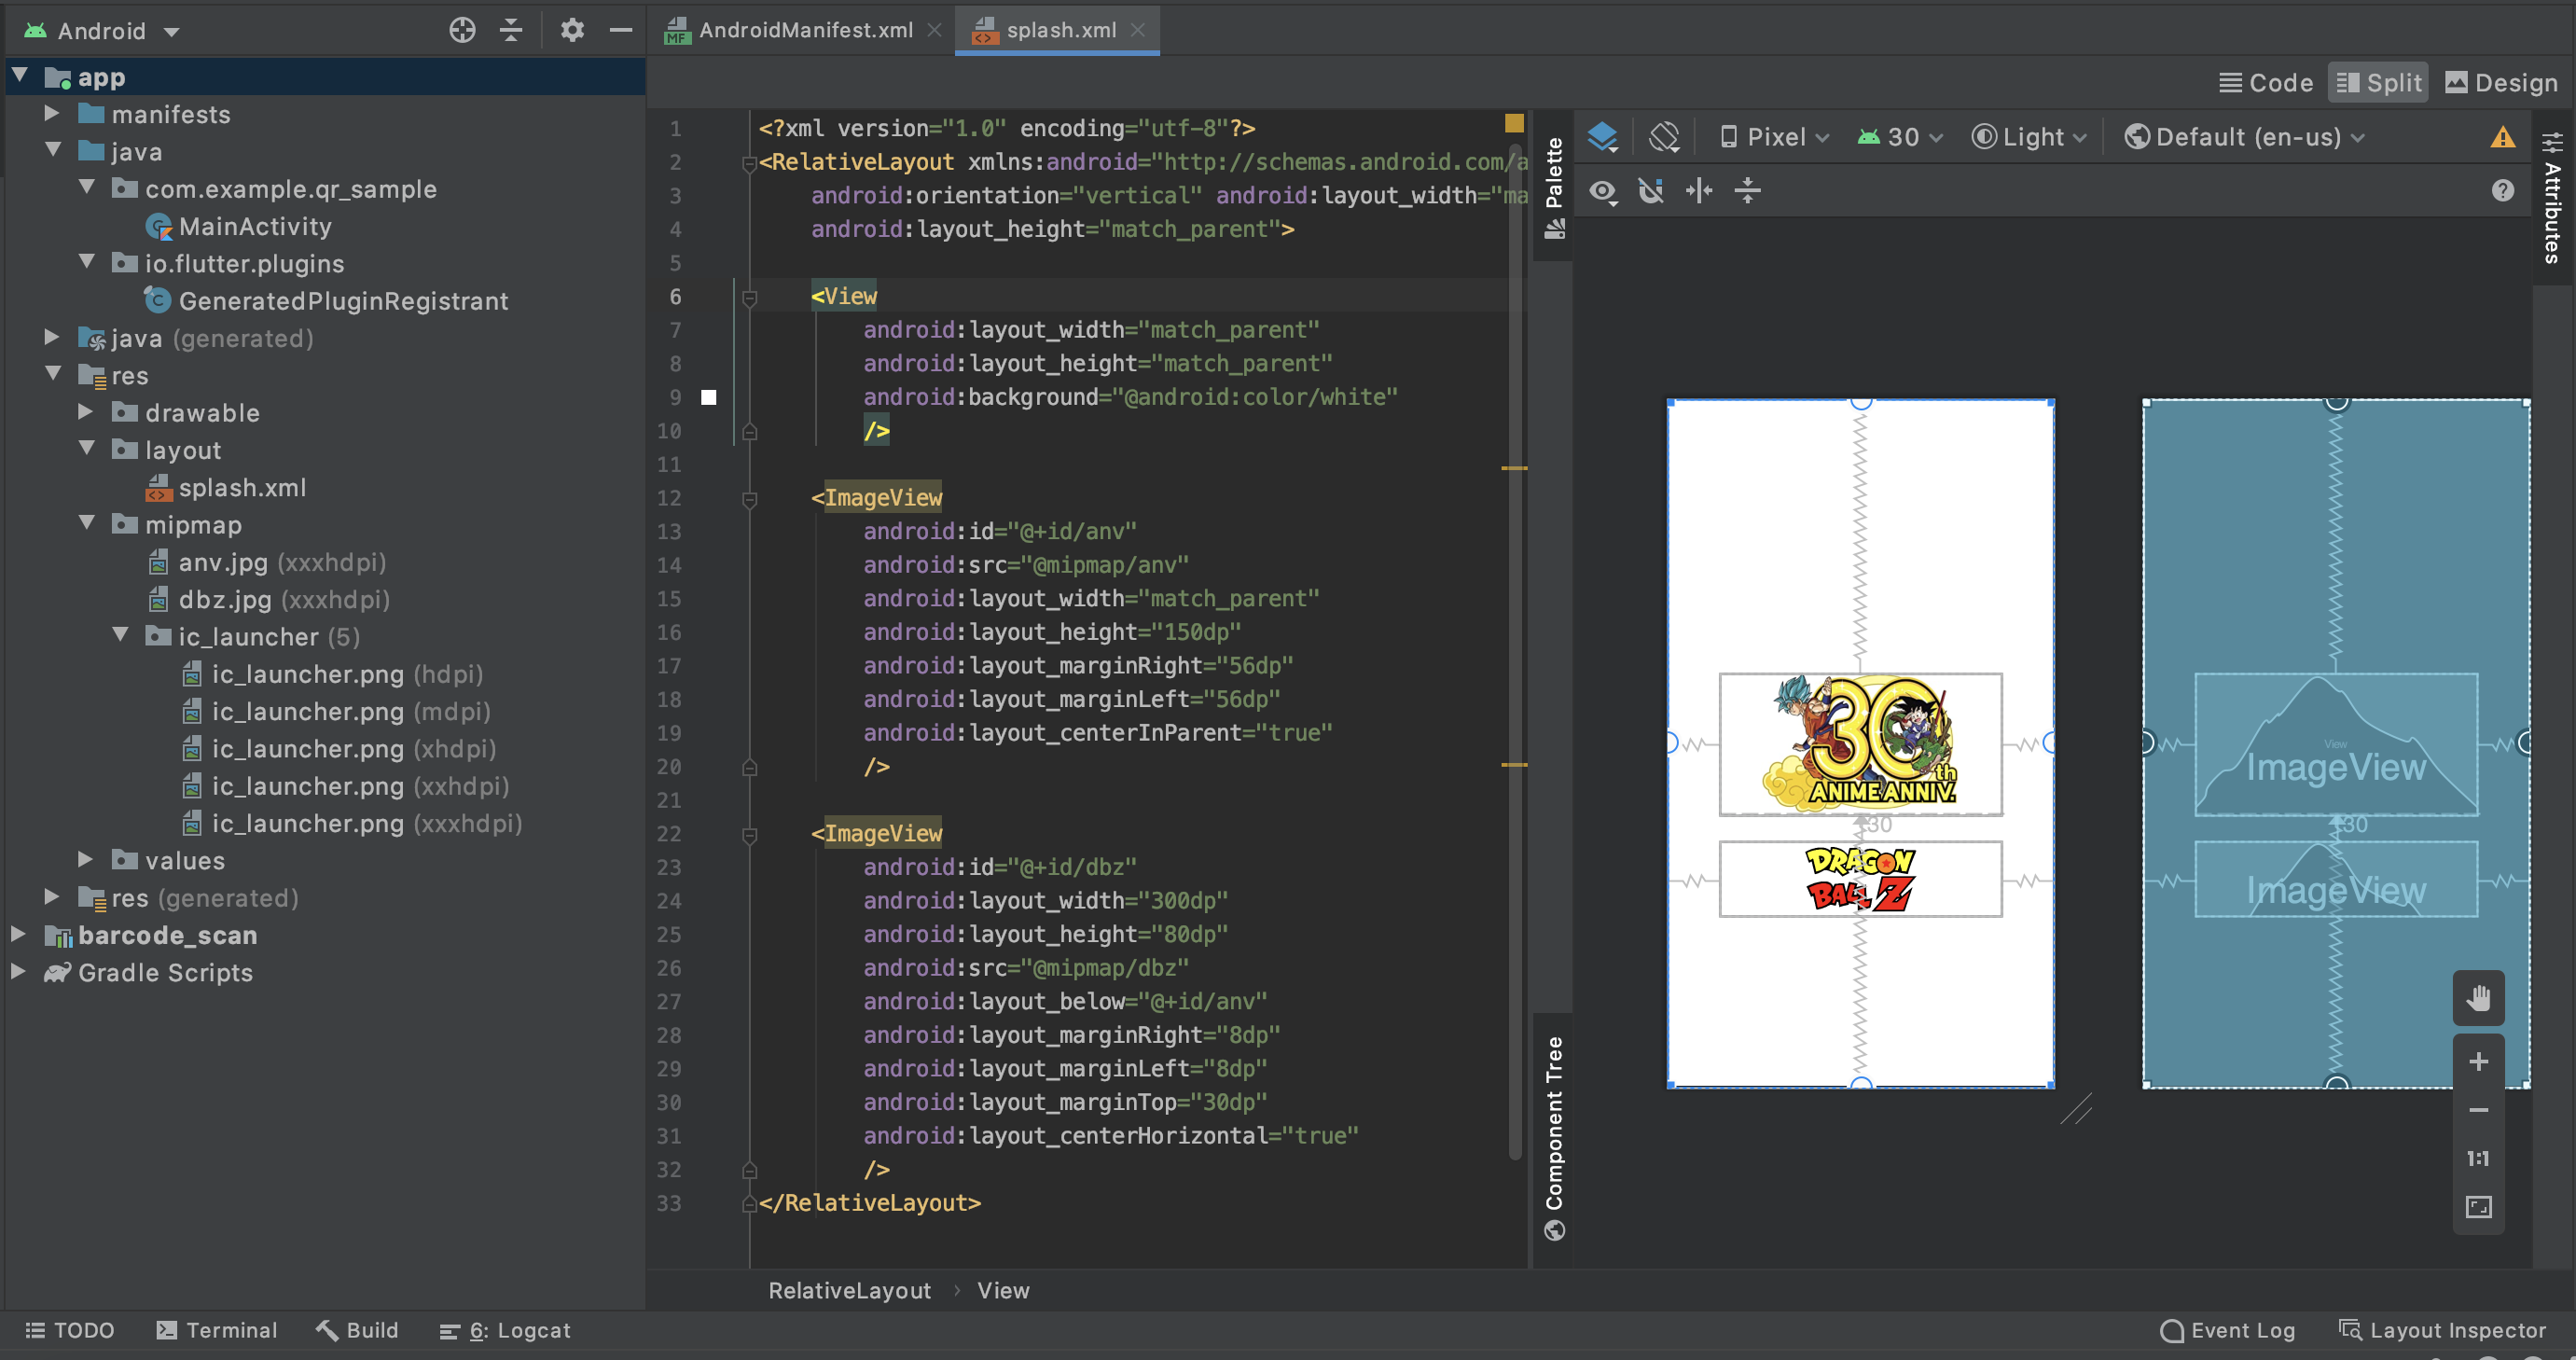
// splash.xml
<?xml version="1.0" encoding="utf-8"?>
<RelativeLayout xmlns:android="http://schemas.android.com/apk/res/android"
    android:orientation="vertical" android:layout_width="match_parent"
    android:layout_height="match_parent">

    <View
        android:layout_width="match_parent"
        android:layout_height="match_parent"
        android:background="@android:color/white"
        />

    <ImageView
        android:id="@+id/anv"
        android:src="@mipmap/anv"
        android:layout_width="match_parent"
        android:layout_height="150dp"
        android:layout_marginRight="56dp"
        android:layout_marginLeft="56dp"
        android:layout_centerInParent="true"
        />

    <ImageView
        android:id="@+id/dbz"
        android:layout_width="300dp"
        android:layout_height="80dp"
        android:src="@mipmap/dbz"
        android:layout_below="@+id/anv"
        android:layout_marginRight="8dp"
        android:layout_marginLeft="8dp"
        android:layout_marginTop="30dp"
        android:layout_centerHorizontal="true"
        />
</RelativeLayout>
2. SplashActivity.ktを作成
MainActivity.ktと同じディレクトリにSplashActivity.kt(任意のファイル名)というファイルを作ります。
// SplashActivity.kt
// ここから
import android.app.Activity
import android.content.Intent
import android.os.Bundle
import android.os.Handler
// ここまで追記

class SplashActivity : Activity() { // : Activity()を追記
    private val splashTimeOut:Long = 1000 // 1秒
    override fun onCreate(savedInstanceState: Bundle?) {
        super.onCreate(savedInstanceState)
        setContentView(R.layout.splash) // R.layout.〇〇は先ほど作ったLayoutファイル名

        Handler().postDelayed({
            startActivity(Intent(this,MainActivity::class.java))
            finish() // SplashActivityを終了する
        }, splashTimeOut)
    }
}
SplashActivity.ktでは「1秒間Splash Screenを表示した後MainActivity.ktを呼び出し、Splash Screenを終了させる」という処理を行なっています。MainActivity.ktではこれまで作ってきたアプリの動きを呼び出しますから、その前の動きをコントロールできます。
3. style.xmlにsplash.xmlを登録
app/res/values配下にstyle.xmlというファイルがデフォルトで用意されております。その中では、冒頭に削除したdrawable/launch_background.xmlが登録されているので、こちらに先ほど作成したsplash.xmlを登録しましょう。
// styles.xml
// コメントは削除しています
<?xml version="1.0" encoding="utf-8"?>
<resources>
    <style name="LaunchTheme" parent="@android:style/Theme.Black.NoTitleBar">
        <item name="android:windowBackground">@layout/splash</item> //編集
    </style>

    <style name="NormalTheme" parent="@android:style/Theme.Black.NoTitleBar">
        <item name="android:windowBackground">@android:color/white</item>
    </style>
</resources>
これで、Splash Screenではlayout/splash.xmlで作成したレイアウトを使用するということを登録できました。
4. AndroidManifest.xmlでSplashActivity.ktを登録
こちらでは、先ほど作成したSplashActivity.ktがMainActivity.ktの前に呼ばれるように編集します。
// AndroidManifest.xml
<manifest xmlns:android="http://schemas.android.com/apk/res/android"
    package="com.example.dragon_ball">
    <application
        android:name="io.flutter.app.FlutterApplication"
        android:label="DragonBall"
        android:icon="@mipmap/ic_launcher">
<!-- nameを.MainActivityから変更-->
<!-- themeをLaunchThemeから変更-->
        <activity
            android:name=".SplashActivity"
            android:launchMode="singleTop"
            android:theme="@style/Theme.AppCompat.Light.NoActionBar"
            android:configChanges="orientation|keyboardHidden|keyboard|screenSize|smallestScreenSize|locale|layoutDirection|fontScale|screenLayout|density|uiMode"
            android:hardwareAccelerated="true"
            android:windowSoftInputMode="adjustResize">
            <meta-data
              android:name="io.flutter.embedding.android.NormalTheme"
              android:resource="@style/NormalTheme"
              />
            <meta-data
              android:name="io.flutter.embedding.android.SplashScreenDrawable"
              android:resource="@layout/splash"
              />
            <intent-filter>
                <action android:name="android.intent.action.MAIN"/>
                <category android:name="android.intent.category.LAUNCHER"/>
            </intent-filter>
        </activity>
<!--ここから追記 -->
        <activity android:name=".MainActivity"
            android:theme="@style/Theme.AppCompat.Light.NoActionBar">
        </activity>
<!--ここまで -->
        <meta-data
            android:name="flutterEmbedding"
            android:value="2" />
    </application>
</manifest>
以上。